


It was such a sunny day today. I went to the grocery store and there was a deal on whole cut chicken. Like $2.50 for the whole thing. The everything diet is so expensive, I will take savings where I can get them. I normally am all about the boneless skinless chicken. It is just easier, and skinless is always better, but today was not the case. So I made some oven fried chicken instead, in hopes to come up with some good picnic foods. You don't know this yet, but I have been making some picnic and BBQ foods for summer, I just need to finish posting them.
Here is the recipe for the chicken:
1. Preheat the oven to 350 degrees
2. Wash the chicken and pat it dry with clean towel.
3. Combine a half cup soy milk and 1/2 tbsp of apple cider vinegar (dairy free buttermilk). Set aside for about 10 min.
4. Combine in pie dish, or large plate, 3/4 c. Carol's sorghum blend, 3 tbsp steak seasoning, 2 tsp paprika, 2 tsp cumin, salt (not too much), and pepper to taste, and 1/2 tsp xanthum gum. Make sure it is well mixed.
5. Add buttermilk mixture to 3 whisked eggs in a pie pan or large shallow bowl.
6. Brush your baking pan with olive oil or spray with nonstick spray if you wish. 
Dip each piece of chicken one by one in the buttermilk egg mixture. 
Then coat each piece in the flour mixture. I only did the tops of each piece and a thin layer. 
That is it. Put it in the oven for about 40 minutes. Every oven is different, and mine stinks, so check it every 15-20 minutes or so. I cooked it until the thermometer read 160 degrees. For the last three minutes, I brushed the chicken with a little olive oil, mainly getting any parts of the flour not cooked yet. I then broiled the chicken for about three minutes for a crispier skin. I paid close attention not to let it burn. 
So that is the chicken. I let it sit about 15 minutes, it was still cooking during that time. It turned out very moist.
Ok now the Pesto pasta salad. This can be served hot or cold making it perfect for a picnic. 
Super Easy Pesto Recipe:
1. This is my touch to the recipe ... pesto can be make various ways.
2. In a food processor, combine:
* About a cup of basil leaves
* A handful of almonds (or pine nuts, they are just expensive), or I have tried sunflower seeds and they work really well too.
* 2 tbsp of rice based parmesan cheese, I really don't taste the difference, but I do with soy based.
* 2-3 cloves of garlic.
* 1 tbsp balsamic vinegar
I added the juice of one small lemon.
Finally before pureeing, I added about 2 tbsp extra virgin olive oil. As it pureed I ended up adding about a tbsp more. And that was it. It makes about 2 cups of pesto, and a little pesto goes a long way, so just store the rest in an airtight container in your fridge. It should keep 7-10 days. I have used this with dinners, adding asparagus, spinach, tomatoes, and goat cheese. It's one of my favorites. 
That is it. I added a couple tablespoons to some gluten free pasta (my favorite I have found is made with rice, potato, and soy flours. Topped it with some fresh tomatoes and basil and a little rice parmesan cheese. Ready for a picnic I say. Have a good day.
Saturday, June 12, 2010
Picnic Oven Baked Fried Chicken and Pesto Pasta
Posted by Crystal at 3:54 PMThursday, June 10, 2010
Let Summer Begin With Kabobs
Posted by Crystal at 11:42 PM
Ok I have so many blogs to put up. Now that finals are over, perhaps I can get a few up here. I bought a twenty dollar charcoal grill and decided that summer is coming rain or shine. So I marinated some chicken overnight. And soaked some wooden skewers in water overnight as well.
Here is the marinade recipe:
2 tbsp sesame oil
Juice from half of a lemon
1 tbsp tamari
1tbsp honey
2 tsp ginger powder
1/2 tsp red pepper chili flakes
salt and pepper to taste
That was it for the chicken marinade, but once I added the veggies I used this same marinade plus left over pineapple juice from a can of Del monte pineapple (the only brand I could find without added sugar) 1 tbsp of stone ground mustard, and juice of a lime. I coated each kabob in this before putting it on the grill. 
I cooked the first side for about 7 minutes, and the second took about 4 or five... just until the chicken was browned. I basted the kabobs with the marinade as they cooked. 
And that is it... I served it with some brown rice, it made for an easy healthy summer meal. Good stuff.
Monday, May 17, 2010
Fish Tacos With a Guacamole and Spicy Black Bean Dip Appetizer
Posted by Crystal at 8:09 PM
My guilty food pleasure of all time is Taco Bell. I love it. I know how bad it is for me. I know that there is nothing healthy about it. But I don't care I love it, and it has been over two months since I had Taco Bell, and it would be nice to say I don't miss it... but that would be a lie. So I have been trying to come up with replacements for the craving. This did not compare, but only because it wasn't made of rehydrated beans and dry meat. So here it is...
The first recipe will be a simple guacamole... its the classic recipe but here it is anyway
2 diced avocados
1 diced tomato ( or 1/2 cup halved grape tomatoes)
1/4 cup diced onion
1/4 cup chopped cilantro
1/2 tbsp chopped garlic
1/4 tsp cumin
Juice of half a lime
salt and pepper to taste
mix it all together, and your good to go.
On to the spicy black bean dip:
This recipe actually comes from The Whole Life Nutrition Cookbook by Allison Segersten and Tom Malterre.
1. Start by sauteing 1 small diced onion, 1 small jalapeno, 3 cloves of crushed garlic in a table spoon of heated olive oil. on medium heat until onions are soft.
2. Add 2 cans rinsed and drained black beans, 1 tbsp cumin and 1 tbsp of chili powder, saute another minute or so.
3. Scrape all of this into a food processor making sure to scrape all the spices with it. Process until smooth.

4. Add 1 to 2 tbsp apple cider vinegar, and 1/2 tsp sea salt.. or to taste. Then process again.
5. Remove from processor and serve in dish, first mixing in 1-2 diced tomatoes. 
Thats it... pretty easy. Serve it with corn tortilla chips. Ok onto the Tacos.
So I started by making a Lime jalapeno cabbage slaw...
I used about a cup of a pre-shredded cabbage blend. It was just cheaper and easier.
Then I added about 1 tbsp of my homemade mayo (here's the link to the recipe) I added 1/2 of a finely chopped jalapeno, and squeeze a half a lime into it and add some salt and pepper to taste. I know the yellow lemon squeezer thing in the picture seems like a useless tool, but it is becoming my favorite tool. It gets the most seedless juice for my lime. Anyway that is it.
Then I made a mango and pinto bean salsa.....
1. Mix together 1 small onion diced, 1-2 cups of diced tomatoes, 1/2 cup chopped cilantro, 1 small diced jalapeno, juice a half a lime, 1 mango diced, 2 cloves diced garlic, and 1 cup drained and rinced pinto beans.
I let it sit in the fridge while I prepared the rest. I used the left overs in another dinner by just mixing it with left over brown rice, and pre-cooked chicken on a day I was in a hurry. It was done in 5 minutes... a handy tool on a diet like this.
Ok so lets finish off the tacos....
1. I cooked some cod in a little olive oil seasoning with salt and pepper.
2. I heated some soft corn tortillas in a little canola oil. Until each side was slightly crisp. Then I folded the tortillas into the taco shape to cool.
3. So then just assembly... fish, then slaw, then mango salsa, then topped with 3 slices of avocado. 
And that is it... not taco bell... but better and healthier. A couple things to know...
the lime is vital to the guacamole to help it last longer... maybe 24 hours longer but still.
The taco shells are delicious... but don't reheat well so make them as you need them
and the Avocado on the top of the tacos adds a creaminess that allowed me not to miss the cheese and sour cream as much.
That's all for now. Have a great night!
Saturday, May 8, 2010
Quinoa Cakes topped with Yummy
Posted by Crystal at 10:01 PM
I was watching the food network the other day and someone made quinoa cakes, but it wasn't a cooking show so I didn't get a recipe, so I made my own recipe.
Here's what you'll need:
1 cup Cooked quinoa ( I cooked mine in chicken stock for flavor)
1 or 2 chopped green onions
3 cloves chopped garlic
1/4 cup chopped parsley
1/4 cup packed chopped spinach
1 egg
1/3 cup carol's sorghum blend (see cupcake recipe)
1/2 tsp xanthum gum
1/2 tbsp olive oil (not for the pan)
1/4 tsp red pepper flakes
1/4 tsp cumin
1/2 tsp paprika
pinch of salt
1/4 black pepper 
Steps:
1. Heat frying pan with a tbsp or so of canola or olive oil
2. Mix all ingredients together until they are binded enough together to form a small 3 inch patty.
3. Cook each patty on medium heat a couple minutes on each side until light brown and crisp. (The thinner the patty the crispier it gets, and the shorter the cooking time. 
To top them:
You really could top them with anything from tofu, to veggies, to chicken, or to shrimp I went with what I had in my fridge, that and I can't have shrimp. So started with a slice of cucumber, topped that with a little cod, added a slice of avocado, topped it with lemon Dijon aioli I will post the recipe below), then a little dill.
A couple other ideas that may work... I had some mango salsa and Jalapeno slaw in my fridge (but there is a different recipe with them I am posting). You could use peppers and shredded carrot. You could try goat cheese, tomatoes, and salmon... really anything. You can add cilantro, parsley, dill, or chives or whatever too.
My lemon Dijon Aioli Recipe
I used my homemade mayo... (leisurely lunch blog)
I added about 1/2 tbsp lemon juice, 1/2 tbsp of Dijon mustard. 1/2 tsp paprika, 1tsp rice substitute Parmesan cheese. And that was it... it was pretty good.
That's it for today's blogs... back to school work!
What a Bountiful Basket!!
Posted by Crystal at 9:40 PM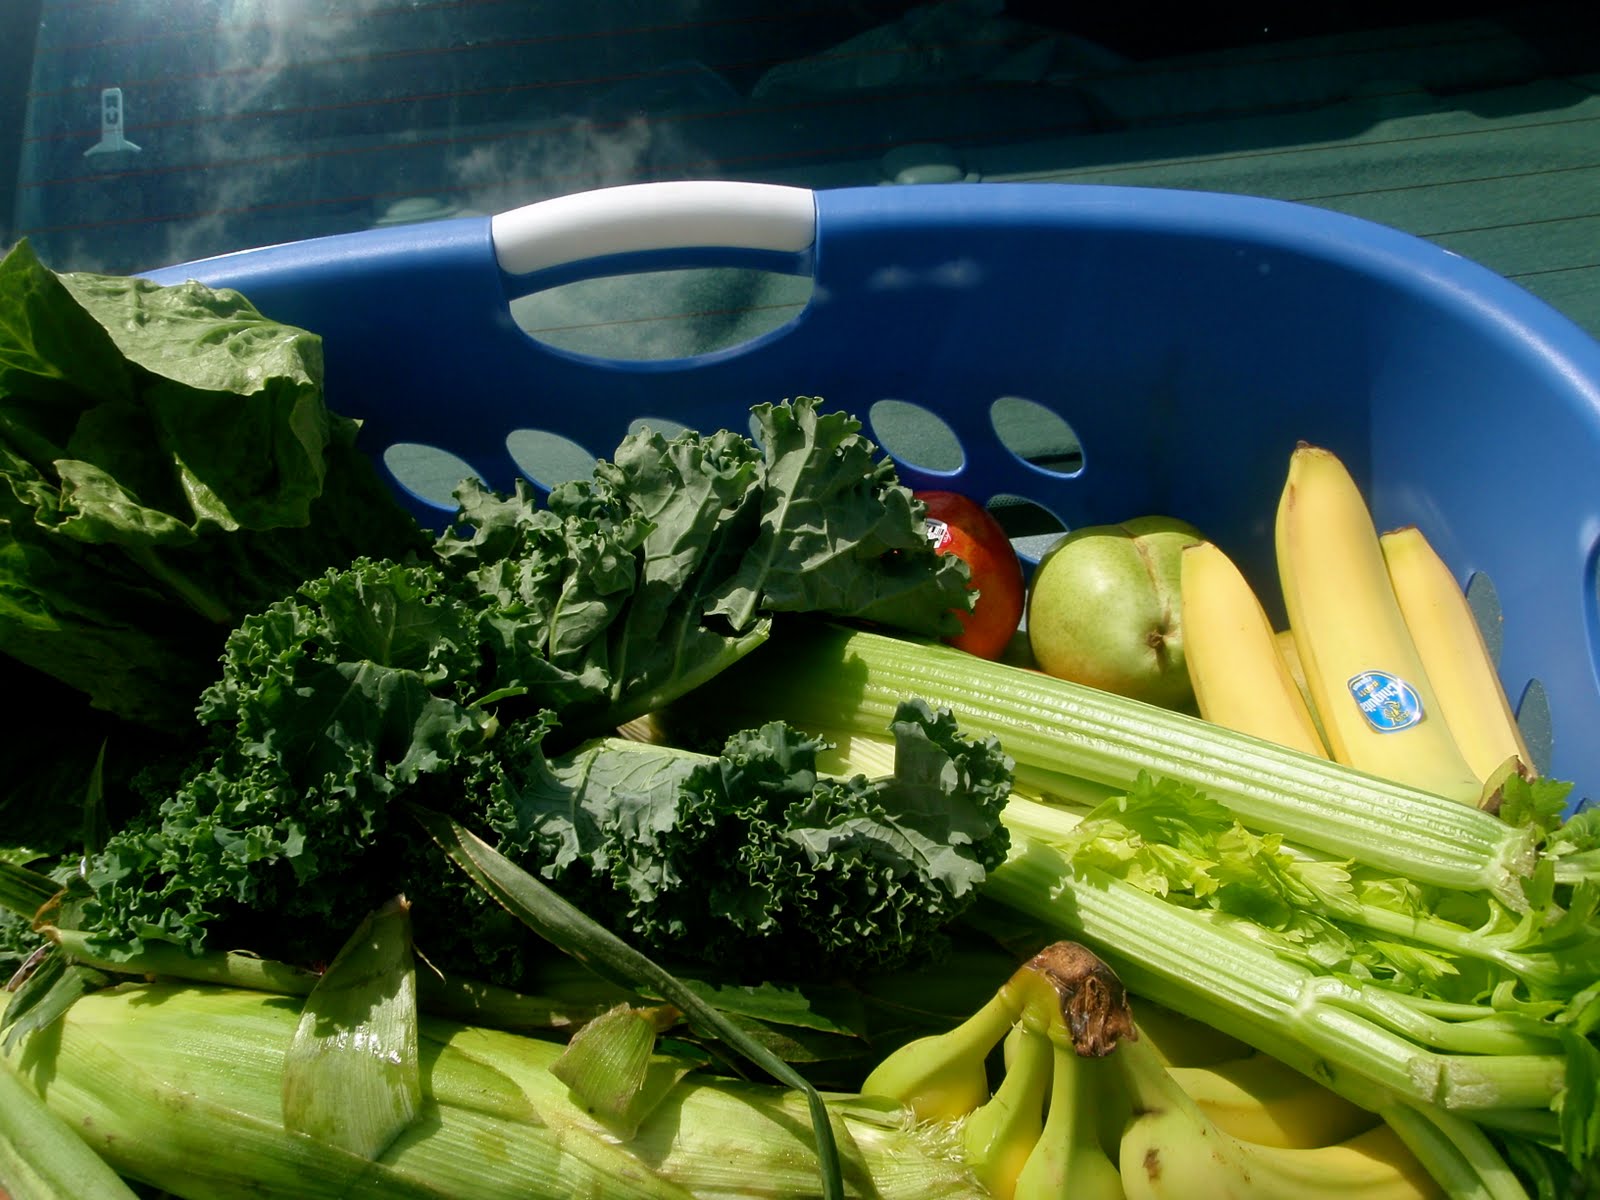
I have now 10 meals, restaurants, and desserts that have been photographed and are ready to be blogged about. I am going to post two blogs today in hopes to make up for it. Really it is just me needing a break from school work.
I recently, as in this week, joined a food co-op group in spokane called Bountiful Baskets. It is 15 bucks a week and I got a large laundry basket worth of produce. The deal is the more people that join the cheaper the produce options. The catch is, you have a very short window to pick up your produce at one of two pre-selected by you locations, and they ask if at all possible that members help put baskets together at 5am ish. My sister-in-law told me about it and she helps put them together, but as I live 30 minutes from spokane, and don't really do 5am, she also picks it up for me, and this time she got me extra bananas. 
Pictured above you see lettuce, kale, potatoes, cauliflower, corn on the cob, celery, apples, oranges, pears, cantaloupe, and bananas (minus 2 I ate) all in all a really great deal. It is sort of a you get what you get and you don't get upset type thing, but it does inspire my new money and time saving plan. This is to make my menu on Saturdays for the week based around my basket. It will vary since the produce varies.
On a side note, my garden is starting to sprout! Oh so exciting, all the fresh herbs + my bountiful basket= less $ and trips to the grocery store! Hip hip hooray!
Monday, May 3, 2010
Oh Strawberry Shortcake I Love You!
Posted by Crystal at 10:21 PM The blog entries I have photos ready for are beginning to stack up. I am at seven meals I still need to blog about. Alas, such is life during a college student's midterms. Anyway tonight I made a completely vegan strawberry shortcake topped with coconut milk whip cream. This was inspired by the lovely strawberries pictured above.
 I started by slicing up a pound of washed strawberries. I then added a tablespoon of lemon juice and a table spoon of brown rice syrup. You could add honey or sugar instead if you want. This gives them a sweetness and a glaze. Then set them aside.
Next I made my coconut whip cream. Here is what you will need:
1 can of full fat coconut milk (this is the can that has the thick layer on top)
1/4 c. to 1/3 c. of powdered sugar (I made my own using the recipe from the cupcake blog only I used a finer cane sugar)
3 tbsp Tapioca or coconut flour
1/2 tbsp of vanilla extract
1/2 tbsp of almond extract
ok so here are the steps:
1. Chill the coconut milk in an airtight container for at least 24 hours. It came to about 1 1/4 c. of the coconut fat and 1/4 c. of the milk.
2. With a mixer mix the coconut milk until it is thick and fluffy (too much milk and not enough fat wont work for this)
3. 1 tbsp at a time of the powdered sugar and the tapioca flour.
This is done to taste and to the desired consistency for your whip cream.
4. Add the vanilla and almond extracts
5. Once the consistency you want, put in an airtight container and refrigerator. 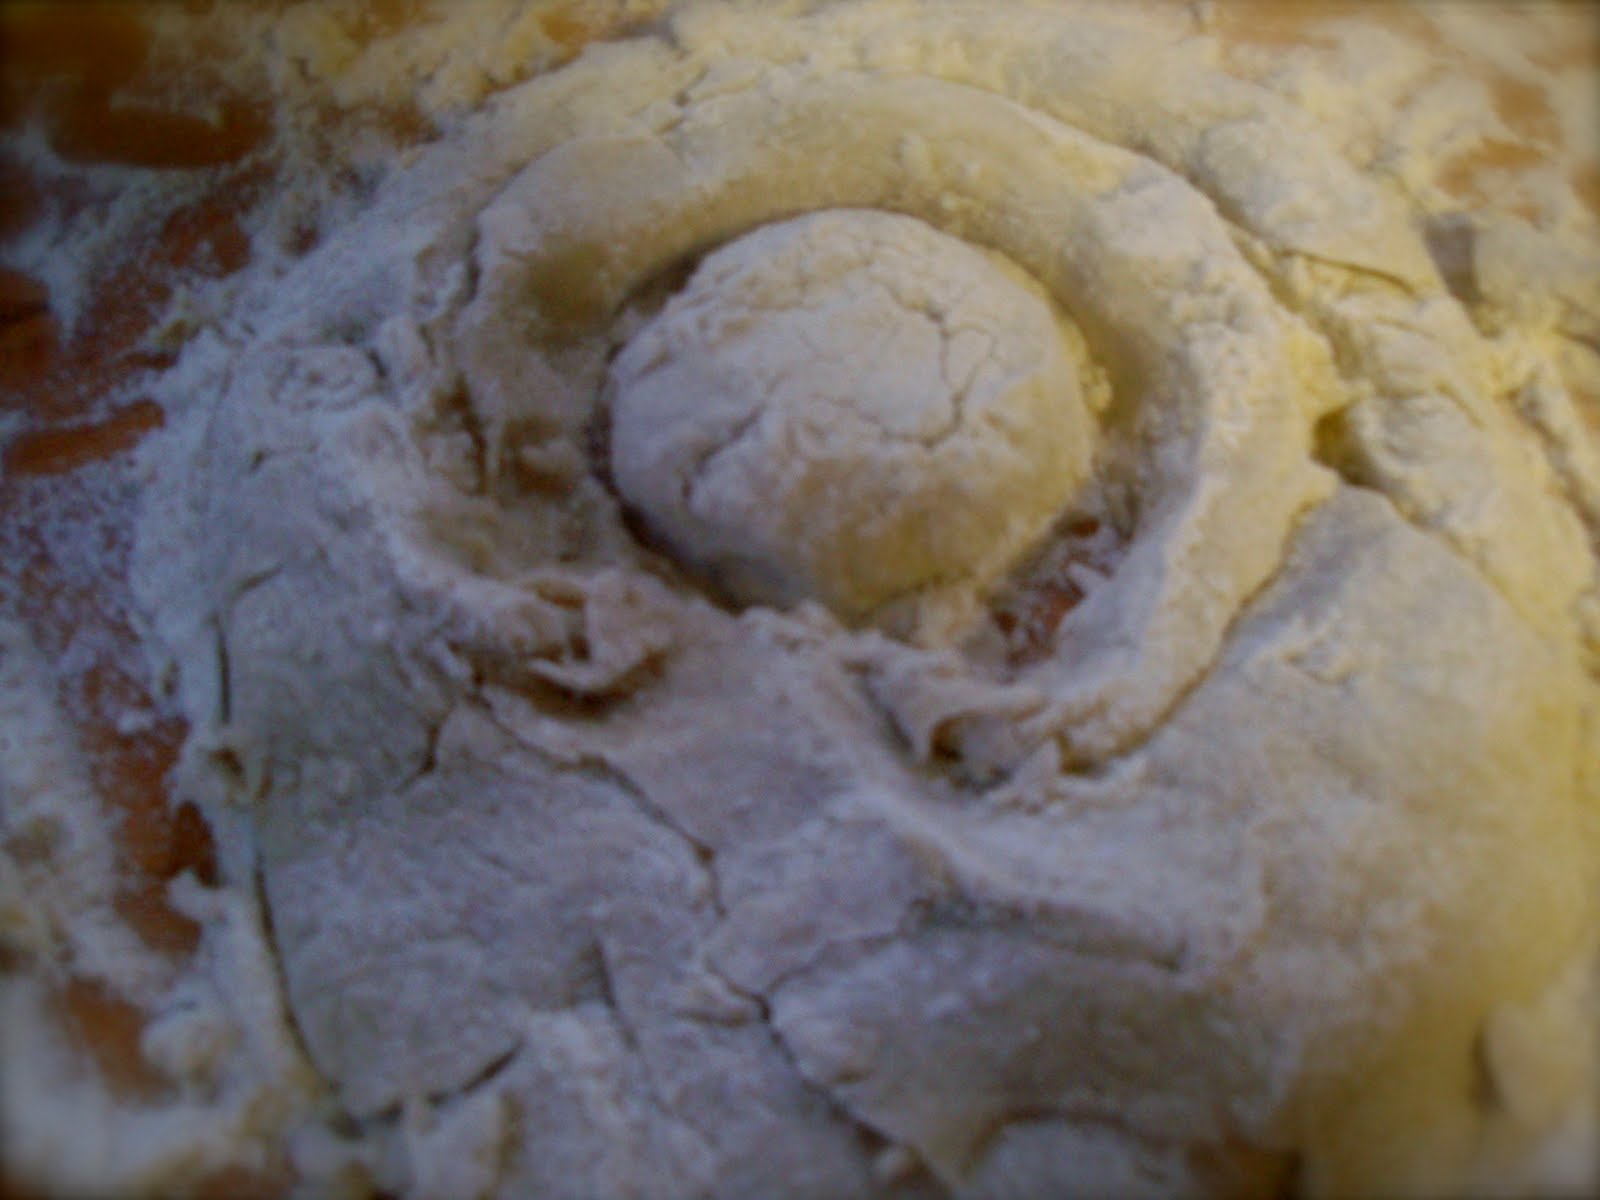 Ok so this is a pretty easy recipe and sort of a hard at the same time. It comes from Carol Fenster's 1000 Gluten Free Recipes
Grease a cookie sheet or muffin pan (I used spectrum shortening) or use parchment paper, then dust with rice flour. Preheat the oven to 375 degrees making sure the rack is in the middle of the oven.
So here are the ingredients:
3/4 c. Carol's Sorghum Blend(see cupcake blog)
3/4 c. Potato starch
1/2 c. Sugar (or organic cane juice) plus 1tbsp for sprinkling
1tbsp Baking powder
1/2 tsp Baking soda
1 tsp Xanthum gum
1 tsp Guar gum
1/2 tsp salt
1/4 c. Earth balance butter
1 c. Buttermilk (see cupcake blog for dairy free recipe)
1 tsp Vanilla extract
White rice flour for dusting and rolling
(recipe calls for milk to brush the tops... I skipped that)
Ok so here's what you do... and what I learned:
1. In a food processor combine flour, starch, gums, baking soda, baking powder, salt, and sugar. Pulse it.
2. Add in the butter and the buttermilk and the vanilla then blend until dough forms a ball. Scrape the sides if necessary.
3. The dough is going to be soft.
4. Ok from here you have a couple options. I think the one I didn't choose would be the easiest... this would be the muffin pan. The dough is soft and can be hard to work with. However here is how I did it the other way.
I dusted a clean counter space with rice flour, I spooned the dough onto the counter, then patted the dough with more rice flour. Making sure dough is a 1 inch thickness. I used a 2 inch metal ramekin cup dipped in rice flour. I pushed it straight down with out twisting and put the circle on my greased and floured cookie sheet. I continued this until I had to re-roll the dough. This made about 16 cakes. If you have the larger circle cutters, you could certainly use those and make them bigger. I kind of liked the smaller size.  I sprinkled the tops with the left over sugar and baked for 15 minutes.
Let them cool for 5 minute or so. To assemble the finished project slice the short cake in half. Add a spoonful of strawberries, then a dollop of the whip cream, then the top of the shortcake, then another dollop of whip cream. 
So there you have it. It tasted pretty good. The shortcake had a good consistency. The whip cream turned out light and fluffy and the strawberries were beautiful. Hopefully it comes across in the picture, my camera battery died as I was taking pics. Hopefully I can get the other blogs posted soon. Have a good night. I need some quirky sign off... not very inspired.
Saturday, April 24, 2010
Sushilicious!!!
Posted by Crystal at 11:38 AM
My Asian Theme Continues with this entry... and maybe the next... then I will vary it up. So I am visiting Bremerton for the weekend. I went to my friend Bridget's house and spent a wonderful day with her and her family. Bridget's family is basically eating the same way I am, but for the most part have been doing it longer and are far more skilled and refined at the task. It was so great to have toast and cookies and soup and a fritata...did I mention I was there all day... all that I could eat without having to feel like I was making special requests. Anyway so we made sushi together.
We made a few kinds. Just a veggie roll, a tofu roll, an avocado roll, a salmon roll (which I think is like an Alaska roll from sushi.com), and a California roll (in the sense that the rice was on the outside of the nori... and it was sprinkled with sesame seeds.) I took pics of the whole process. I will include the instructions for making the rice. And some notes about the steps how.... but I am mostly going to let the pictures speak for themselves here.
A side note we used brown rice, and I have decided to stick to only brown rice, unless only white is available. Most sushi is made with white rice. But the brown rice worked just fine and they tasted great. OK so we begin... This is the season rice vinegar we used.
Sushi Rice Recipe
*Rinse 2/3 cup of rice well and bring to a boil with 1 cup water.
*Reduce heat to low and cover,about 40 minutes, until water is absorbed.
*Remove from heat and let rice stand, covered, 10 minutes.
*Transfer rice to a wide nonmetal bowl
*Sprinkle with 2 tbsp vinegar.
*Gently stir it in.
*Cool rice about 15 minutes. All of our ingredients. We have white and black sesame seed, Nori, and Salmon (this was canned red Alaskan salmon... With only salmon and salt listed in the ingredients. It was cheaper and worked just fine), Also baked tofu ( you could use my previous recipe from the spring rolls). And the veggies.
We used avocado, carrots, cucumber, and green onion... you can be creative. The best and easiest way to cut them is in as long of strips as possible. 
Place nori, shiny side down. You can see in the picture little creased lines on the nori. You are going to only put rice in between the 1st and last line, leaving about an inch at each end. 
This is Gillian. She loves to help cook. Sushi is a great way for kids to help, Since there are no stoves involved once the rice is made. 
Once you have your thin layer of rice on your nori, spreading it gently with a knife, on one edge start adding your ingredients. 
Alaska salmon roll. 
Tofu roll
Technically I think you are supposed to use the mat when rolling them, but we found we were able to get a tighter roll without it. Roll edge over the ingredients first. Try to roll it all as tightly as you can. 
When you get to the other edge after rolling it, you will "paint", as Gillian calls it, that left over inch of nori with water so that it will stay put in a roll.
We then refrigerated them for a while, but you don't have to. Slice them into about 6 pieced with a very sharp, or serrated knife, and serve with ginger, wasabi, and tamari. 
And there you have it. We like tripled the rice recipe and made 12 rolls.
Sushi makes us happy!
I have a couple other blogs coming soon, it was a busy week last week, but stay tuned for a recipe for a curry chicken dinner, a salmon dinner, stuffed peppers, and a review of a restaurant I found in spokane with its very own gluten free menu. I promise some non Asian food recipes soon, it is just so easy to make them gluten free.
As for a health update, Monday makes 4 weeks on this diet. I have lost 5 pounds, but the good news is it seems to be coming off in the right places. My energy is up a bit, my sleep schedule is improving, and I am not cramping when I eat anymore... so all good news.
Have a great day.
